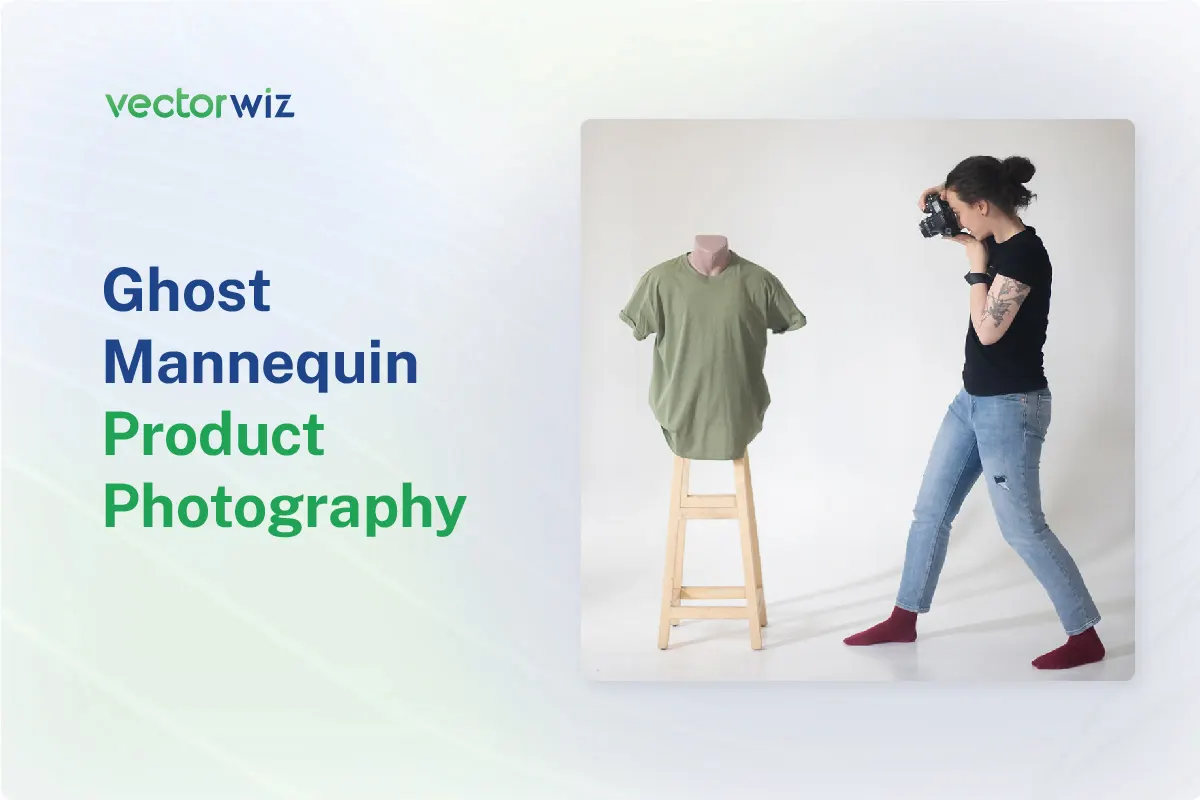
Ghost mannequin product photography is a technique that has been widely adopted by eCommerce businesses and fashion brands to showcase their products in an eye-catching and appealing manner. The technique creates an illusion of floating products, giving them a clean and modern look. This type of photography is especially useful for clothing and apparel, as it showcases the item’s shape, fit, and details, without any distractions from a visible mannequin.
Whether you are a seasoned photographer or just starting in the eCommerce industry, it’s important to understand the basics of ghost mannequin product photography. From the necessary equipment to the post-production process, this guide will provide you with everything you need to know about ghost mannequin product photography. So, if you’re ready to elevate your product photos and give your brand a boost, let’s dive into the world of ghost mannequin photography!
What is the Ghost Mannequin Effect?
The ghost mannequin effect is a technique used in product photography to create an illusion of a floating garment. This effect is achieved by photographing the garment on a mannequin, then removing the mannequin in post-production and blending the seams together to create a seamless, ghost-like appearance.
The end result is a photo that showcases the garment’s shape, fit, and details without any distractions from a visible mannequin. The ghost mannequin effect is commonly used in the fashion and eCommerce industries and is a popular way to showcase clothing and apparel items in a modern and appealing manner.
Benefits of Ghost Mannequin Product Photography
Ghost mannequin product photography is a popular technique used by eCommerce businesses and fashion brands to showcase their products appealingly and professionally. The benefits of using this technique are numerous and can significantly enhance the presentation of your products. Here are some of the key benefits of ghost mannequin product photography:
Showcasing Product Shape and Fit
The ghost mannequin allows the product’s shape and fits to be highlighted, giving customers a better understanding of how the garment will look.
Eliminating Distractions
By removing the mannequin from the photo, the ghost mannequin effect eliminates distractions and allows the product to take center stage.
Creating a Clean and Modern Look
The ghost-like appearance of the product in ghost mannequin photography creates a clean and modern look, appealing to customers and helping your brand stand out.
Improving Product Details
The ghost mannequin effect also allows a closer examination of the product’s details and materials, helping customers make informed purchasing decisions.
Boosting eCommerce Sales
By presenting products visually appealing and professionally, ghost mannequin product photography can help increase eCommerce sales and improve customer satisfaction.
Cost-Efficient
Ghost mannequin product photography can be a cost-effective option for businesses as it requires minimal equipment and can be done in-house, reducing the need for expensive photography studios and a professional model.
Human-Powered Image to Vector Conversion
Are you looking for human-powered (not a robot) image to vector conversion services? Transform low-quality or pixelated images into crisp, scalable vector graphics.
Mastering Ghost Mannequin Photography: Step-by-Step Setup
Here’s how expert product photographers approach the process.
Selecting the Right Model or Mannequin
When it comes to ghost mannequin photography, the simpler, the better; opt for models with minimal style and poses, or use a white or transparent mannequin. Dress forms can also be used to show off the detail and shape of the clothing.
Expert’s advice: Look for mannequins with removable parts for more customization options.
Preparation and Equipment
Good lighting is key in ghost mannequin photography. Make sure your studio has quality photography lights, umbrellas, and reflectors. Remember styling essentials such as clips, hangers, pins, and busts to make the clothes look crisp. A telephoto lens camera and a tripod will also help you achieve a clean and stable shot.
Expert’s advice: Ensure all shots have consistent lighting for easier post-production editing.
Capturing the Perfect Shot
Shoot your products from chest height to achieve the best angle. To create the 3D effect, follow these steps:
- First, photograph the front and back of the outfit on the model or mannequin.
- Next, turn each garment inside out and hang it on a foam board. Photograph the front and back again.
- Ensure the collar is open and the inner lining is visible for collared shirts or dresses.
What to Avoid
- Blocking the attire with hands or props
- Uneven or asymmetrical poses
- Overlapping fabrics For Inlay Shot
- Uneven necklines (for tops)
- Cropped waistlines (for bottoms)
- Cropped margins in the images.
With these tips, you’ll be on your way to mastering ghost mannequin photography and creating stunning images for your product line.
Unlock the Full Potential of Your Ghost Mannequin Photos with Editing
Generating ghost mannequins in Photoshop can be intimidatingly complex, especially for new photographers. Fortunately, you don’t need to do it alone. VectorWiz Can take the hassle out of the editing process and offers the best ghost mannequin photo editing service!
VectorWiz is the leading photo editing company when it comes to professional ghost mannequin service. We understand that for businesses to stay ahead of their competition, they need to provide an excellent customer experience – and what better way to do that than with our top-of-the-line ghost mannequins?
Frequently Asked Questions
Why use ghost mannequin photography?
Ghost mannequin photography highlights the details and shape of the clothing, making it more appealing to potential customers. It also saves space and reduces clutter in the product photo, making it easier for the customer to focus on the product.
Can I do ghost mannequin photography at home?
Yes, you can do ghost mannequin photography at home with the right equipment and some practice. However, working with a professional photographer or studio is recommended for the best results.
What equipment do I need for ghost mannequin photography?
For ghost mannequin photography, you will need a mannequin, studio lights, reflectors, a camera with a telephoto lens, and a tripod. You will also need styling tools such as clips, hangers, and busts.
What is the best mannequin to use for ghost mannequin photography?
For best results, use a white or transparent mannequin, as they blend easily with the background. Matte white mannequins are also a good option, as they are non-reflective and make editing easier.
How do I create the ghost mannequin effect in post-production?
To create the ghost mannequin effect in post-production, you will need to remove the mannequin and combine multiple images of the clothing to create a seamless final image. This process requires advanced editing skills and software.
How do I style the clothing for ghost mannequin photography?
To style clothing for ghost mannequin photography, ensure the garments are hung or placed on the mannequin in a balanced and flattering way. Avoid overlapping fabrics and keep the pose minimal.
What type of camera lens is best for ghost mannequin photography?
A telephoto lens is best for ghost mannequin photography, as it minimizes distortion and captures small details. A tripod is also recommended to keep the camera stable.
Can ghost mannequin photography be used for all types of clothing and apparel?
Yes, ghost mannequin photography can be used for all types of clothing and apparel, including jackets, shirts, dresses, and pants.


