Embroidery digitizing: what your vector needs to look like.
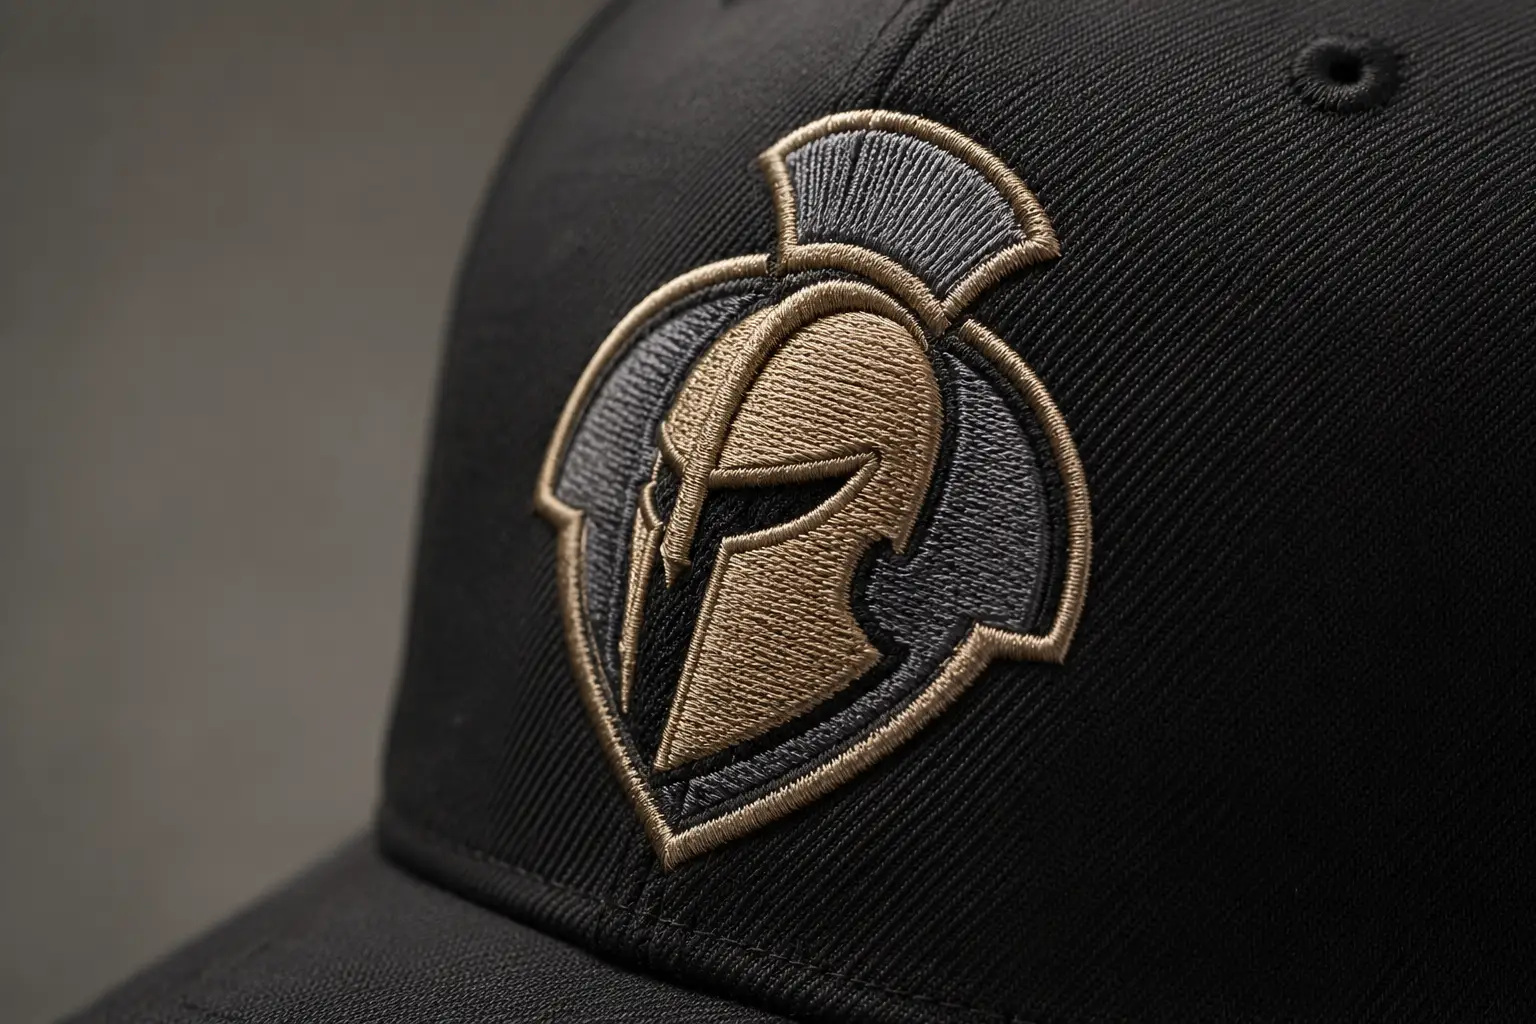
A common misunderstanding: people send us logos and ask for "embroidery files." We send back vectors — clean paths, named layers, stitch notes. The actual digitizing (DST, EMB, PES files) happens in your digitizing software with a real digitizer at the wheel. What we deliver is the bridge between artwork and digitizing.

Why digitizers ask for vectors
Auto-trace pulls 200 anchor points out of a single letterform. A digitizer trying to digitize that path will fight every micro-segment. Clean vector paths — closed, minimal anchors, no stray points — let the digitizing software make smart decisions about underlay, stitch direction, and density.
Give your digitizer a clean start. We prep the file that stitches.
Closed paths, density zones, pull compensation, thread call-outs — the vector groundwork that makes or breaks the stitch-out. Back in 24 hours.
Need something custom? Email hello@vectorwiz.com
Minimum path geometry
Every path closed. No open endpoints. No paths thinner than 1mm at install size — those will not stitch cleanly at any density. We flag thin areas and either thicken them or break them into separate filled zones.
Density zones
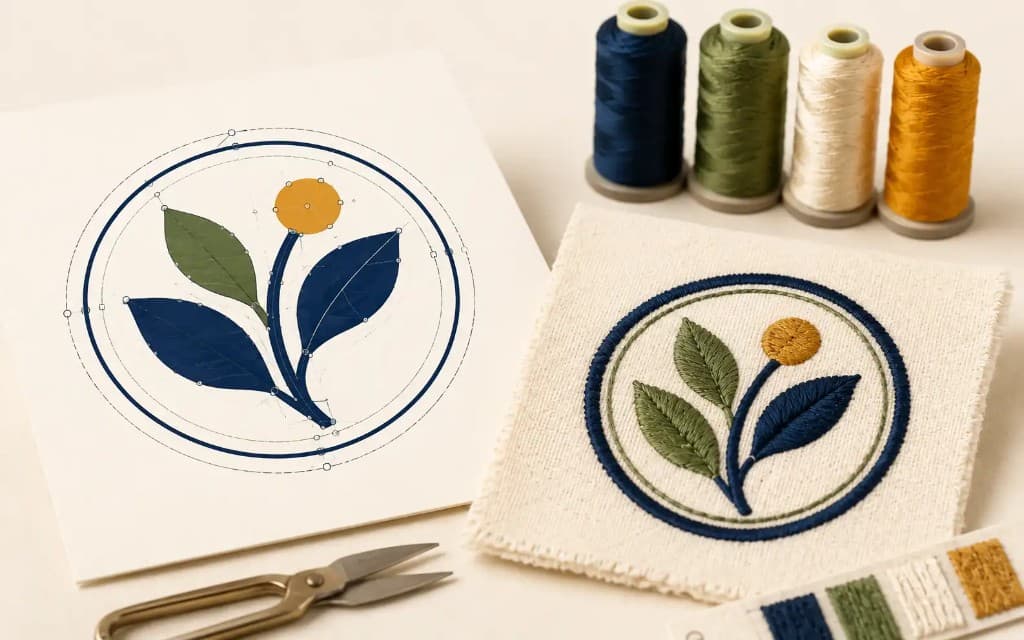
A logo with both fine text and large fill areas needs density zones. Fine detail gets 0.30mm density (denser stitches, tighter coverage). Large fills get 0.45mm density (less thread, faster stitch-out). We separate these onto named layers so the digitizer can set them right.
Pull compensation
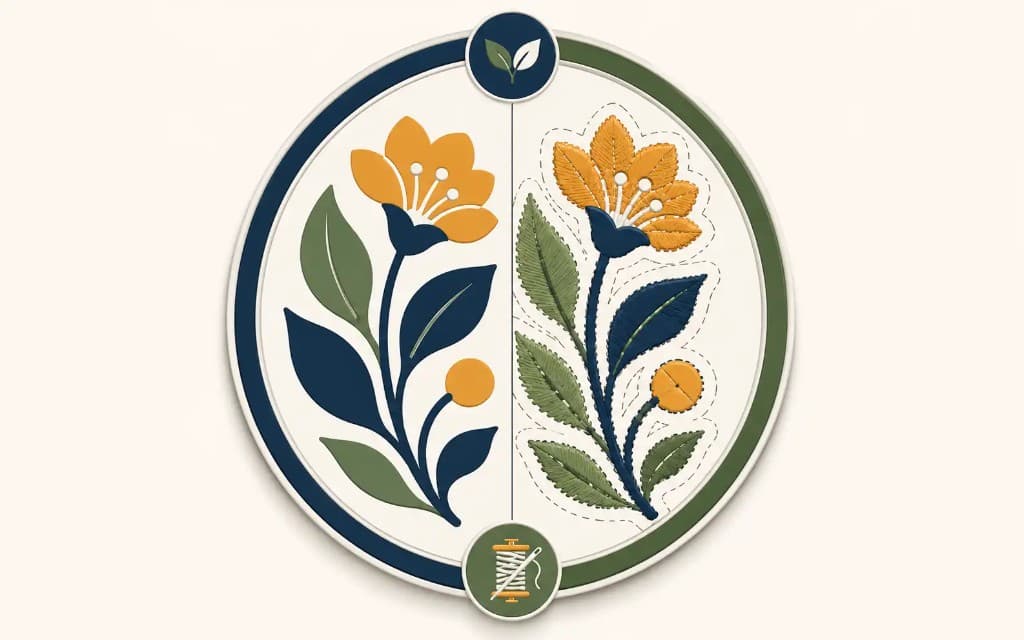
Fabric pulls when the needle goes in. A 5mm circle stitched on stretchy fabric ends up as a 4.8mm oval. We expand paths 0.5pt by default to compensate. Heavier compensation for fleece, lighter for twill.
Thread call-outs
Every color zone is named with its thread number — Madeira Polyneon 1682, Isacord 1956. Your digitizer plugs that directly into the digitizing software and the thread chart loads automatically.
What we do not do
We do not produce DST, EMB, or PES files. We do not set stitch count, underlay type, or sequence. Those are digitizer decisions, made in digitizing software, by people who run the machine. See embroidery service →
Frequently asked questions
What does a digitizer need from a vector file?
Clean closed paths with tidy joins, no stray or duplicate nodes, and colors separated onto their own layers. The digitizer converts that art into stitches, and every flaw in the vector becomes a decision they have to make by hand — so clean geometry directly speeds up digitizing.
Is vector conversion the same as digitizing?
No. Vector conversion rebuilds the artwork as clean scalable paths; digitizing turns that artwork into a stitch file with stitch types, directions, and densities for the machine. We do the vector side — the clean source your digitizer works from.
How much detail survives embroidery?
Less than most people expect. Very small text, hairline strokes, and fine gradients do not stitch cleanly at typical logo sizes. Simplifying those details in the vector before digitizing produces a better stitch-out than trying to rescue them at the machine.
What format should embroidery artwork be in?
AI or EPS is the safe hand-off — both preserve clean paths and separated colors that digitizing software imports reliably. Include the thread or brand colors if you have them so the color breaks are unambiguous.
Can you convert a raster logo for embroidery?
Yes. A raster logo gets redrawn by hand as clean vector with tidy joins and separated colors, built as a digitizing-friendly source. Auto-traced art is a poor stitch source because its stray nodes and lumpy curves carry straight into the stitch path.
Naimur Rahman
Leads design direction and quality at VectorWiz. Reviews and redraws production artwork by hand across sign, screen-print, embroidery, and CNC work.
Related articles
Drawn by hand. Built for production.
Instant pricing, no commitment. Production-correct vectors in your inbox in 24.