How to transform images into digital art From photograph to digital art, the right way.
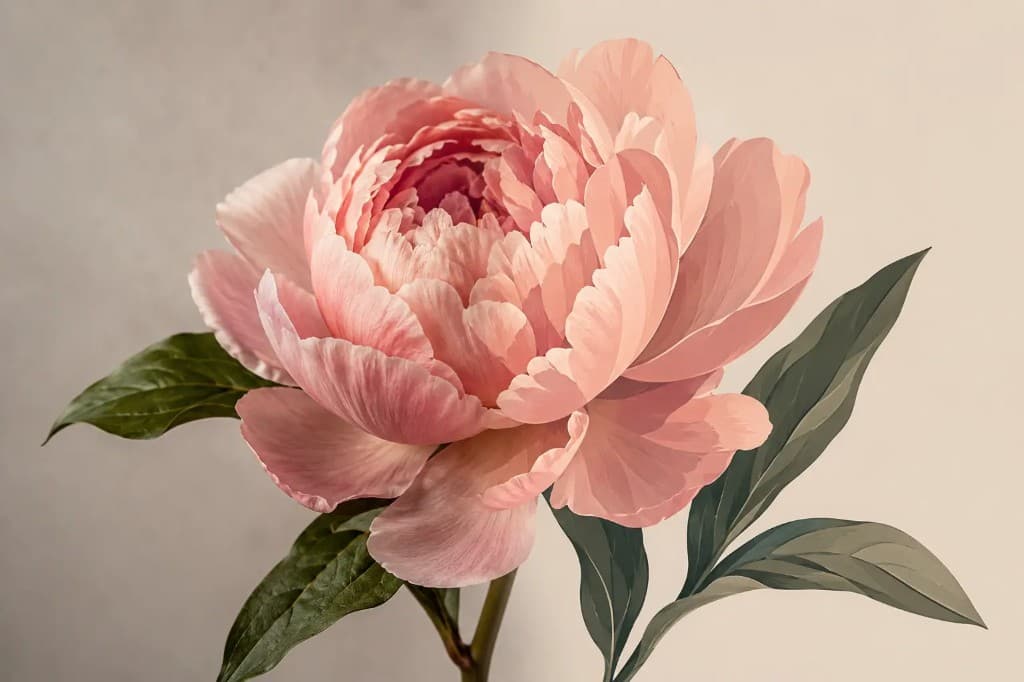
Transforming a photograph into digital art — sometimes called a photo to illustration conversion — is a stylization step, not a direct conversion. The fastest path is an AI vectorizer (Vectorizer.AI, vector.ai, Adobe Firefly) for clean stylized output. Photoshop filters (Cutout, Poster Edges, Smart Blur + Threshold) give more control but produce raster output. For production-quality digital art, hand illustration on top of either is what professional artists do. Pick by what the result is for.
- Pick the target style
Line drawing, posterized vector, painterly raster, or stylized illustration. Each calls for a different tool path.
- Start with a clean source
Higher resolution input = cleaner output, regardless of method. 2000×2000 minimum for AI tools; 4000×4000 for Photoshop filters that need detail to bite.
- Run the primary transform
AI vectorizer for one-shot stylization; Photoshop filters for control over each step; hand illustration when style accuracy matters more than speed.
- Refine and finish
Clean stray paths, adjust color palette, outline fonts if any. Export to the target format — SVG for web, AI for editing, high-res PNG for print.
What we mean by "digital art"
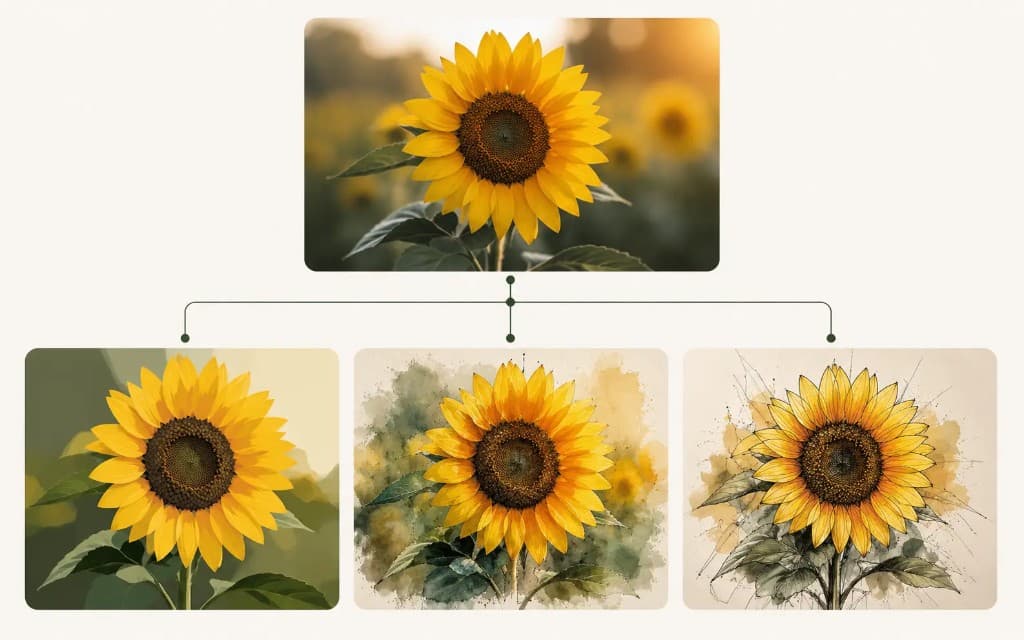
Digital art is a vague umbrella — it covers stylized illustrations, posterized vectors, line drawings, painterly compositions, pixel art, and a dozen other looks. The transformation tool depends entirely on which look you want.
Love the look but need it to print? A human makes it production-correct.
We rebuild your stylized image as clean, scalable vectors — the format your printer or cutter needs. In 24 hours.
Need something custom? Email hello@vectorwiz.com
- Line drawing / lineart
- Edges-only conversion. Source detail mapped to clean black-on-white lines. Common for coloring books, tattoo references, blueprint-style illustrations.
- Posterized vector
- Limited color palette (typically 4–8 flat colors), edges crisp, gradients flattened. Andy Warhol-style. Print-friendly.
- Painterly / impressionist
- Brush-stroke style raster. Often results from Photoshop's Oil Paint filter or Adobe Firefly's painterly preset. Raster output, not vector.
- Stylized vector illustration
- Hand-drawn vector character, scene, or composition derived from a photo reference. Highest quality, slowest method.
- Pixel art
- Low-resolution stylization with a fixed pixel grid. Aseprite, Photoshop with strict pixel-perfect setup, or AI generators trained on pixel art.
Path 1: AI vectorizer (fastest)
AI-trained vectorizers (released 2022–2024) are the fastest path from photo to stylized digital art. Upload, pick a preset, download — usually under 30 seconds.
- Pick a tool
Vectorizer.AI for cleanest faithful vectorization. vector.ai for stylized illustration tilt. Adobe Firefly Vector for Creative Cloud subscribers — bundled cost. Recraft for AI-generated text-to-vector.
- Upload at high resolution
AI vectorizers work better with high-quality input. 2000×2000 PNG or JPG minimum. Crop to the subject before uploading — the AI doesn't waste effort vectorizing irrelevant background.
- Adjust detail level
Each tool has a detail slider. Less detail = more stylized, fewer colors. More detail = closer to photographic accuracy but less 'digital art’ feel. Iterate until the look is right.
- Export
SVG for web/editor. AI for Illustrator handoff. PDF for print-and-cut workflows.
- Clean up in Illustrator (optional)
Even AI output benefits from a manual pass — close any open paths, simplify nodes, outline type, name swatches. Ten minutes that makes the file production-ready.
Path 2: Photoshop filters (most control)
Photoshop's filter stack gives you the most control over each step. The result is raster (not vector) but high-quality and customizable. Best when the target is print, social media, or web display rather than CNC/embroidery/screen-print output.
| Filter | Style produced | Notes |
|---|---|---|
| Filter → Artistic → Cutout | Posterized illustration | Reduce Levels (4–8) for crispness; Edge Simplicity for smoother shapes. |
| Filter → Artistic → Poster Edges | Comic / illustrated | Edge Thickness 2–4; Posterization 2–4. |
| Filter → Artistic → Oil Paint | Painterly | Stylization 4–8; Cleanliness 5–10; Scale 1–5. Best on portrait subjects. |
| Filter → Stylize → Find Edges | Line drawing (inverted) | Invert (Cmd/Ctrl + I) and adjust Levels for clean ink-line look. |
| Filter → Sketch → Photocopy | Black-and-white poster | Detail 1–24; Darkness 1–50. |
| Filter → Filter Gallery → Stamp | Two-tone graphic | Light/Dark Balance + Smoothness controls. |
Workflow: photo to line drawing in Photoshop
- Open the photo. Duplicate the layer (Cmd/Ctrl + J).
- Desaturate the duplicate (Cmd/Ctrl + Shift + U).
- Duplicate again. Invert (Cmd/Ctrl + I). Change blend mode to Color Dodge.
- Filter → Blur → Gaussian Blur. Adjust radius until lines emerge (typically 6–20 px).
- Flatten visible (Cmd/Ctrl + Shift + Alt + E) to merge into a single line-drawing layer.
- Levels (Cmd/Ctrl + L) to push whites to pure white and darken the lines.
- Optional: Filter → Stylize → Find Edges over the final result for sharper inking.
Path 3: hand illustration on top
For commercial digital art (album covers, brand illustrations, editorial commissions), the right path is still a designer drawing on top of the photo reference. AI tools scaffold quickly but the result lacks the intentional design choices a human makes.
Hand illustration is iterative. Designer imports the source as a reference layer, sketches at low opacity, refines line by line, applies color palette decisions that the source photo didn’t make for them. Hours to days depending on scope.
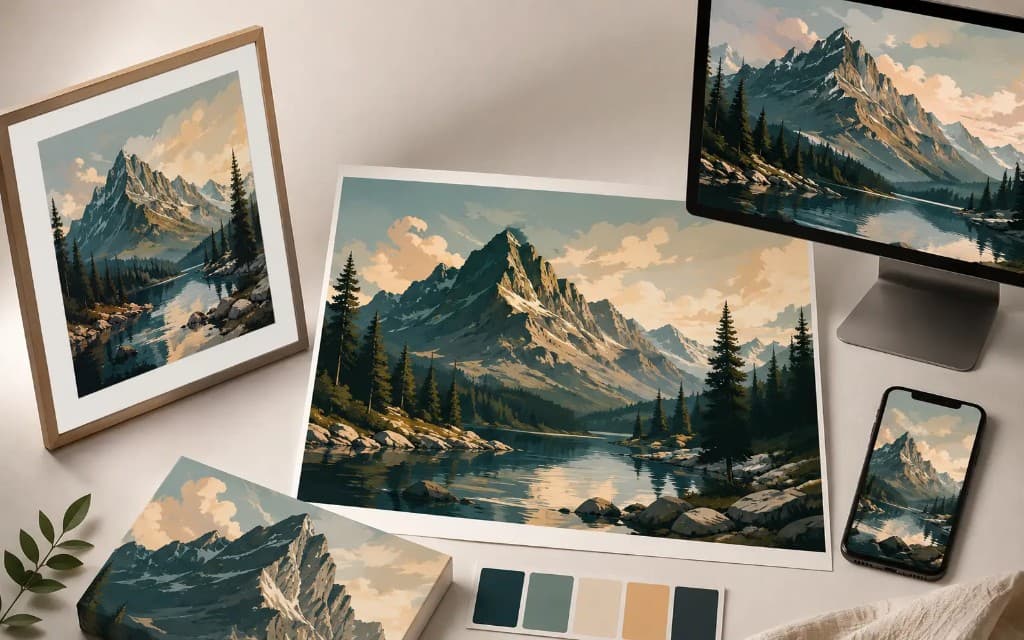
Picking the right output format
| Use case | Format | Why |
|---|---|---|
| Web display, social | PNG (raster) or SVG (vector) | PNG handles painterly styles; SVG scales infinitely for crisp logos. |
| Print poster | PDF or AI at 1:1 print scale, 300 DPI raster minimum | Print needs CMYK + bleed; PDF/X-4 is the production standard. |
| Apparel decoration | AI or EPS with layered colors | Each ink color one layer; outlines closed for screen separation. |
| NFT / digital collectible | SVG or PNG, full-res transparent background | Vector preserves at any resolution; PNG with alpha for painterly raster. |
| Editing source | AI (Adobe Illustrator) or PSD (Photoshop) | Keep the editable working file separate from the export. |
Three rules for better stylization
- Start with a high-resolution source. AI and filter quality degrade fast on low-res input.
- Crop tight. Backgrounds dilute the AI’s attention and complicate Photoshop filter results. Crop to the subject before transforming.
- Reduce the color palette before, not after. Apply Image → Mode → Indexed Color with a 4–8 color palette before running filters; cleaner output.
Frequently asked questions
What’s the fastest way to turn a photo into digital art?
AI vectorizers like Vectorizer.AI, vector.ai, or Adobe Firefly Vector. Upload a 2000×2000 photo, pick a stylization preset, download in under a minute. Free tiers are limited to a few conversions per day; paid plans run $9–25/mo.
Can I do this in Photoshop without any AI tools?
Yes. Photoshop’s filter stack — Cutout, Poster Edges, Find Edges, Oil Paint — covers the most common digital-art styles. The result is raster (not vector), but high quality and customizable. The trade-off is more clicks per result.
What’s the difference between AI vectorization and Photoshop filters?
AI vectorizers output editable vector paths (SVG, AI, EPS) — infinitely scalable, perfect for logos, print, and large-format. Photoshop filters output raster pixels — better for painterly styles, social posts, and web display where pixel-perfect detail matters more than scalability.
How do I make a line drawing from a photo?
Photoshop: duplicate the layer, desaturate, duplicate + invert with Color Dodge blend mode, Gaussian Blur, flatten, then Levels to clean up. AI tools: Vectorizer.AI’s 'Black and White’ preset produces clean line work straight from the upload.
Can I sell digital art I make from someone else’s photo?
Only with the photo’s license or written permission. Most stock photos are licensed for use but not derivative redistribution. If the source is your own photo, you’re free to sell the derivative. If the source is a celebrity or recognizable person, even your own photo may need a publicity-rights release for commercial use.
What resolution does the source photo need to be?
2000×2000 is the safe minimum for AI vectorizers — below that, the geometry quality degrades visibly. For Photoshop filters that detect edges, 3000×3000+ produces cleaner results because the filter has more pixel detail to work with. For hand illustration on top of a reference, resolution matters less since the designer is interpreting, not tracing.
Is there a way to keep the original photo’s colors but get a stylized look?
Posterization is what you want. In Photoshop: Image → Adjustments → Posterize, set Levels to 4–8. This reduces the photo to a limited palette while preserving the source colors. AI vectorizers also have a 'color count’ setting that does the same.
Should I hire a designer or DIY?
DIY when the result is for personal use, social media, or a one-off project. Hire a designer when commercial, editorial, or production output is involved — they make intentional design choices AI tools can’t replicate, and the result is portfolio-grade. VectorWiz handles vector conversion (not illustration) — for hand illustration referrals, email hello@vectorwiz.com.
Naimur Rahman
Leads design direction and quality at VectorWiz. Reviews and redraws production artwork by hand across sign, screen-print, embroidery, and CNC work.
Related articles
Drawn by hand. Built for production.
Instant pricing, no commitment. Production-correct vectors in your inbox in 24.