How to convert raster to vector Pick the path by what the file is for.
Converting raster to vector means going from a pixel grid (PNG, JPG, scanned PDF) to vector paths (SVG, AI, EPS, DXF). Three paths: (1) Adobe Illustrator’s Image Trace or Inkscape’s Trace Bitmap — free or cheap, fast, needs cleanup; (2) AI vectorisers (Vectorizer.AI, vector.ai, Adobe Firefly) — $9–25/mo, cleaner output, still raw geometry; (3) Manual rebuild by a designer — slowest, most expensive, but production-correct on delivery.

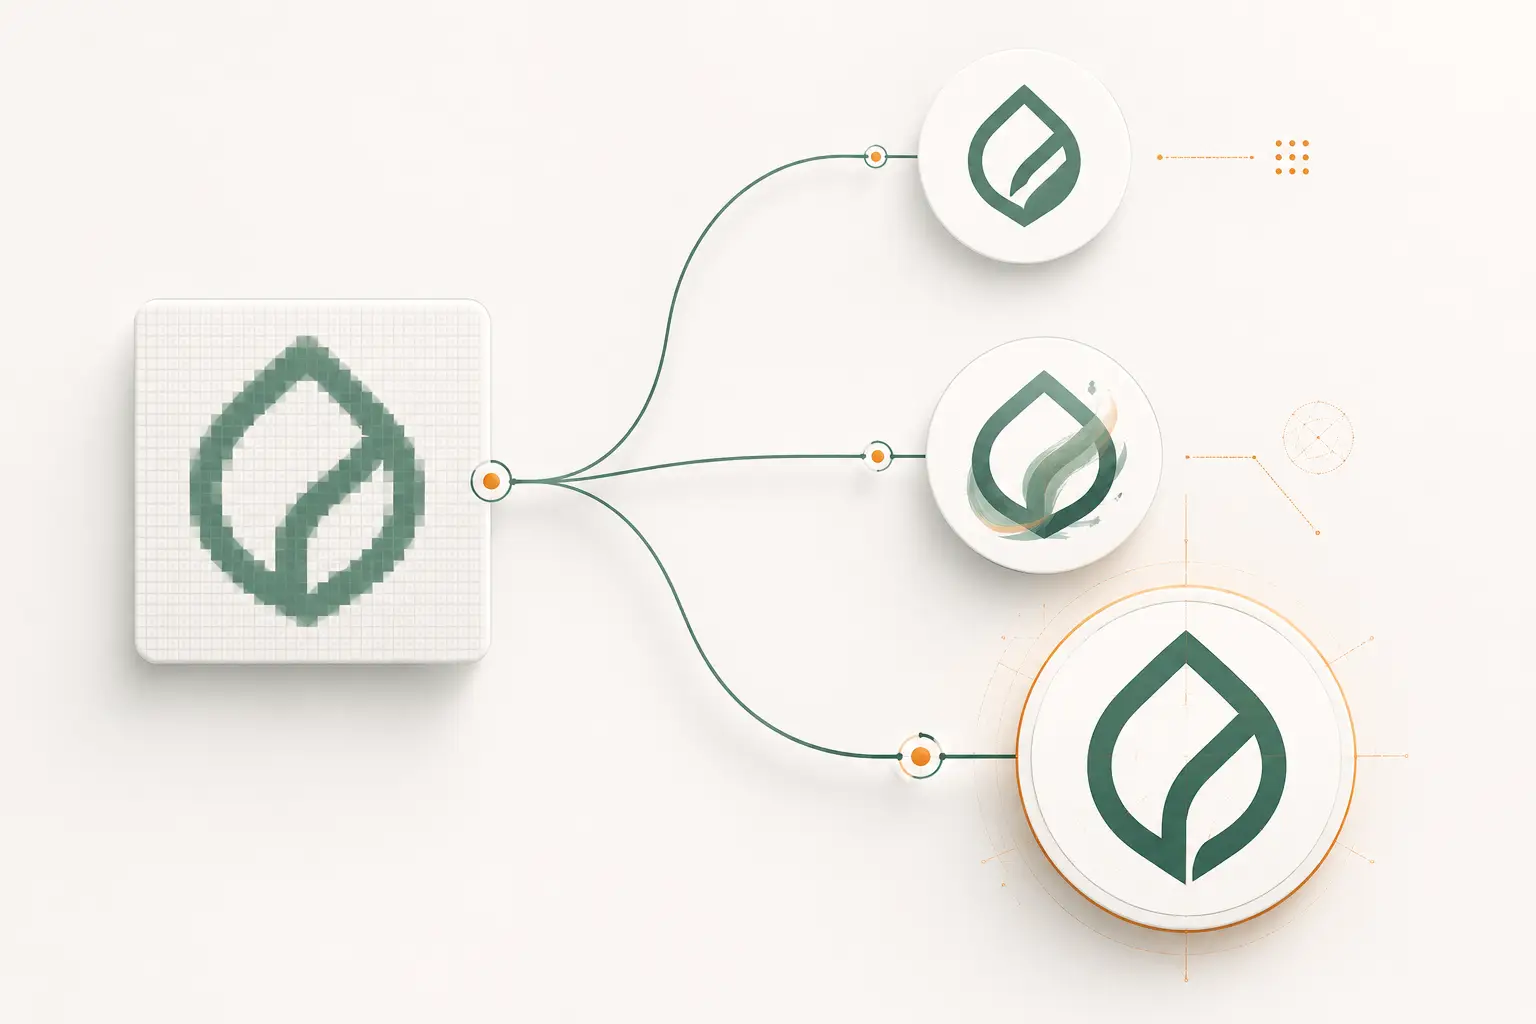
- Identify the target output
Web display, print at multiple sizes, vinyl plotter, embroidery digitizer, CNC router. Each has different file requirements that drive tool choice.
- Inspect the source
Resolution, contrast, complexity, color count, fine type. The source quality determines what the conversion can do — garbage in, garbage out.
- Pick the conversion path
Auto-trace for simple high-contrast logos heading to web/personal use. AI vectorisers for stylistic photo-to-illustration. Manual rebuild for anything heading to production tooling.
- Clean up and verify
Auto-traced output needs cleanup (node reduction, font outlining, layer structure). Verify by zooming to actual output size and checking edges, joins, colour separation.
Step 1: identify your output target
The conversion approach depends entirely on what the resulting vector file is going to be used for. Skipping this step and just running an auto-tracer is the #1 cause of files that look fine on screen but break in production.
Don't want to trace it yourself? A human does it production-correct.
Send your raster and get back clean, machine-ready vectors — minimal nodes, real colors, the right format. Instant price, 24 hours.
Need something custom? Email hello@vectorwiz.com
- Web display, social, app icon
- Auto-trace is fine. Quality matters less than file size and round-trip speed.
- Print at multiple sizes (logos, business cards, posters)
- AI vectoriser or auto-trace + cleanup. Output needs to be edge-clean at any size.
- Vinyl plotter
- Manual rebuild. Auto-traced paths usually have open contours or sub-pixel jitter that the plotter chokes on.
- Embroidery digitizing
- Manual rebuild. The digitizer needs stitch-friendly geometry, not just any valid vector.
- Screen-print spot colour
- Manual rebuild + colour separation. Each ink needs its own clean layer.
- CNC routing, laser, plasma
- Manual rebuild. Closed-path DXF in AutoCAD 2000 dialect.
- Engraving (rotary, fiber)
- Manual rebuild. Single-stroke fonts for rotary, outline-only for fiber.
Step 2: inspect your source
- Resolution. At least 2000×2000 for AI tools. 1200×1200 is the practical minimum for auto-trace.
- Contrast. High-contrast (black logo on white) traces cleanly. Low-contrast or noisy source produces messy output.
- Colour count. 1–4 colours: spot-colour-friendly. 5+ colours: prefer simulated-process or AI vectorisation.
- Fine type. Small text at low resolution traces poorly — consider re-typesetting in the original font.
- Subject. Logo / icon / illustration → vector wins. Photograph → vector struggles; consider whether you actually need vector.
Step 3: pick the conversion tool
| Source | Best tool | Why |
|---|---|---|
| High-contrast B&W logo | Illustrator Image Trace or Inkscape Trace Bitmap | Fast, free or cheap, output is usable with light cleanup. |
| Multi-color logo with subtle gradients | Vectorizer.AI or vector.ai | AI handles colour quantisation better than path-finding tracers. |
| Photo to be stylised as illustration | Vectorizer.AI, vector.ai, Adobe Firefly Vector | AI vectorisers produce illustration-style output from photographic source. |
| Production-buyer job (vinyl, embroidery, etc.) | VectorWiz manual rebuild | Auto-trace cleanup eats the same hours as manual rebuild and produces worse files. |
| Engineering drawing or floor plan | Adobe Illustrator + manual trace | Engineering drawings need exact dimensions; auto-trace introduces sub-pixel drift. |
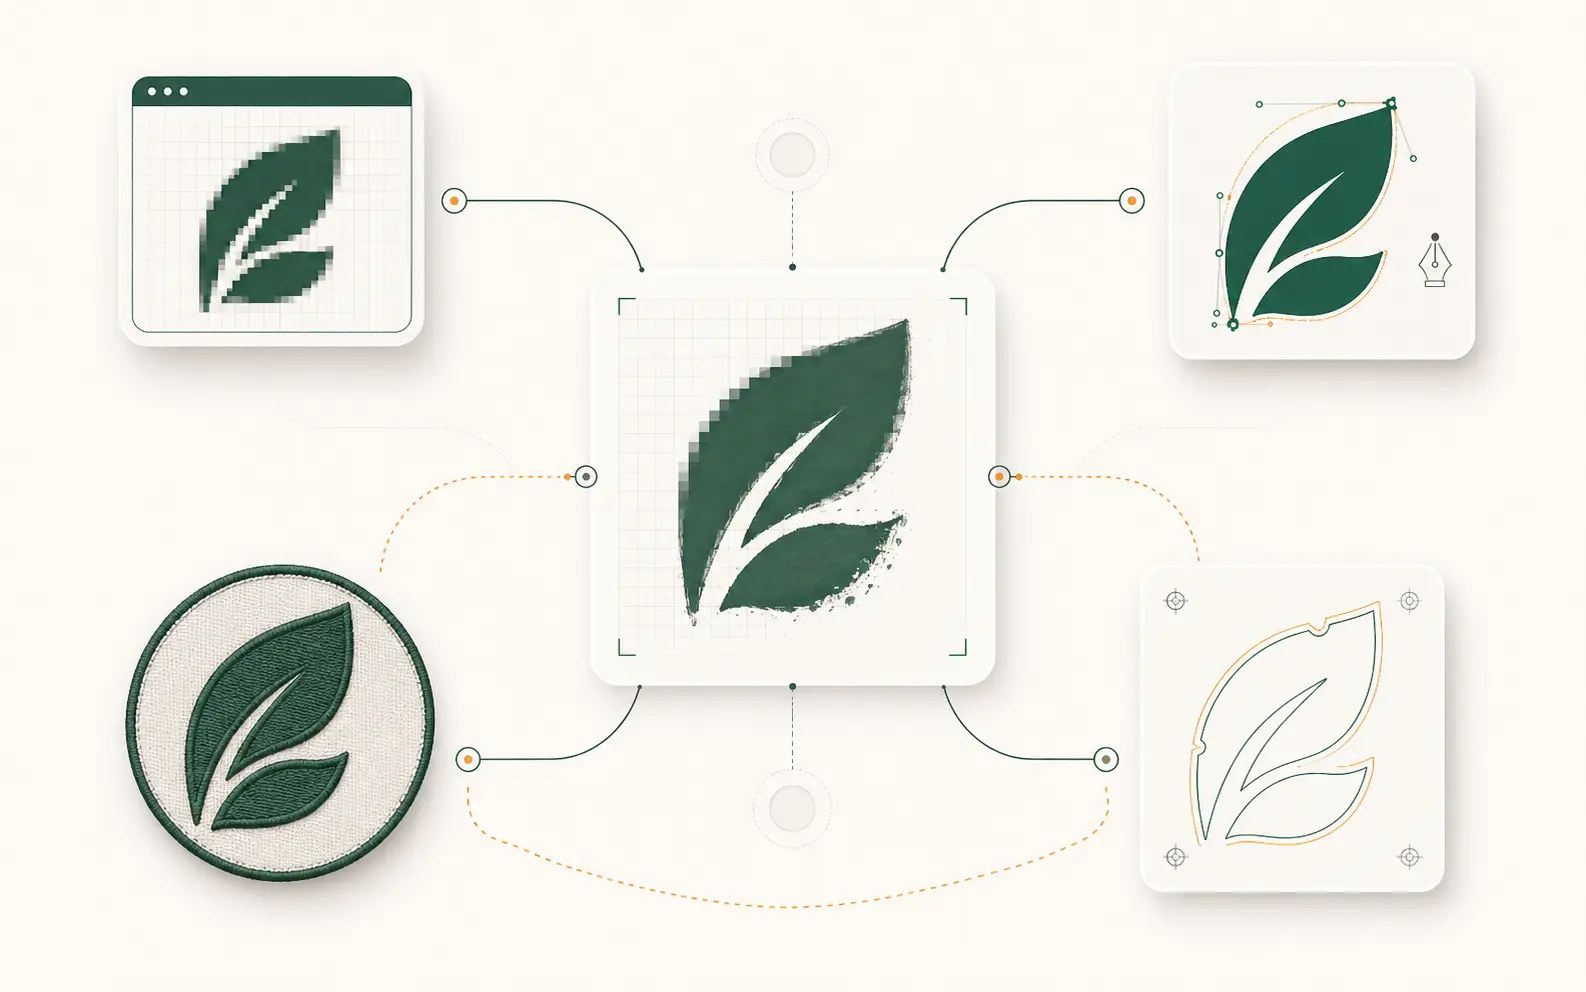
Step 4a: auto-trace workflow (Illustrator)
- Place the raster
File → Place → select your PNG/JPG/TIFF. The raster appears as a placed object on your canvas.
- Open Image Trace
Window → Image Trace. Pick a preset that matches the source: 'Black and White Logo’ for single-color, '6 Colors’ or '16 Colors’ for multi-color, 'Photo’ for photographic source.
- Adjust thresholds
Threshold (B&W mode) controls what counts as foreground vs background. Paths slider controls smoothness. Corners controls how sharp angles render. Iterate until the preview looks correct.
- Expand
Click Expand. The trace converts from a live image to editable vector paths.
- Clean up
Object → Path → Simplify (Cmd/Ctrl + Shift + S). Reduce anchor points until edges look clean but not coarsened. Outline all type (Type → Create Outlines, Cmd/Ctrl + Shift + O). Save as AI, EPS, SVG, or PDF.
Step 4b: AI vectoriser workflow (Vectorizer.AI as example)
- Upload
Vectorizer.AI accepts PNG, JPG, PDF, WebP, GIF. Drag-and-drop or browse-to-upload. Up to 1024×1024 free; higher resolution requires a paid tier.
- Adjust detail
Detail slider controls how faithful the output is to the source. Less detail = more stylised. Iterate; the preview updates in seconds.
- Download
Pick the output format: SVG (web), AI (Illustrator), PDF (print), DXF (CNC). Download.
- Clean up (still required)
Open in Illustrator. Outline type, name layers per colour, check for stray paths. Most AI output is closer to production-ready than auto-trace but still needs a pass.
Step 4c: manual rebuild (the production path)
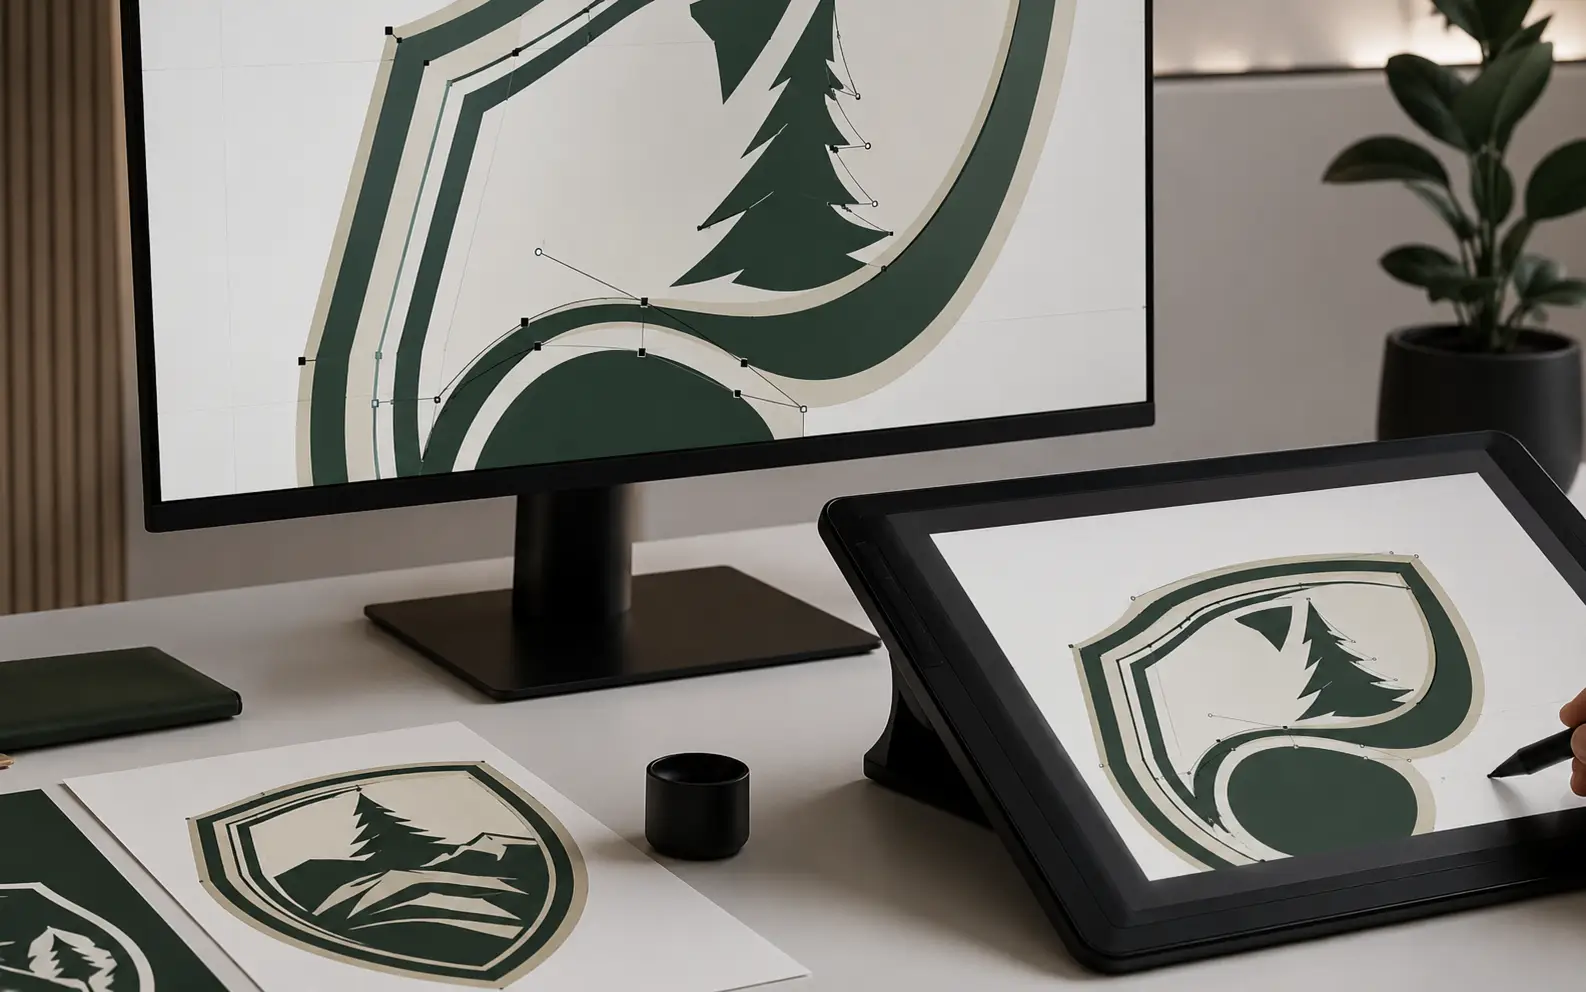
For production-buyer output — vinyl, embroidery, screen print, CNC, engraving — manual rebuild is the right answer. A designer redraws the artwork on top of the raster reference using the Pen tool, producing clean closed paths with the minimum anchor points needed to describe each shape.
Time: 30–60 min for Simple (single-color clean logo); 1–2 hr for Medium (multi-color, some interpretation); 2–4 hr for High (gradients, halftones, complex composition); 4+ hr for Complex (photo-derived full reconstruction). Production-buyer shops typically outsource to a specialist (VectorWiz, in-house freelancer, or a designer subcontractor).
Step 5: cleanup checklist
- Closed paths — every shape’s start and end points should connect, especially for cut-line work.
- Minimum anchor points — Object → Path → Simplify with a tight tolerance.
- Outlined type — Type → Create Outlines so the file renders correctly even without the source font installed.
- Layer structure — one layer per output stage (per ink colour for screen print, per cut depth for CNC, per fabrication step for signage).
- Named swatches — Pantone codes or named colours so the press operator picks the right inks without guessing.
- No embedded raster — make sure the trace went all the way; an embedded raster image inside the file defeats the purpose.
- Stroke vs fill — production tools care which is which. Stroke = cut path or engrave line; fill = solid colour region.
Common mistakes
- Trusting auto-trace output for production. The cleanup step is mandatory, not optional.
- Skipping font outlining. The vector ships without the source font; the customer’s machine reverts to fallback fonts and the file looks wrong.
- Mixing stroke and fill on the same path. Production tools handle strokes (cut paths) and fills (regions) differently — picking the wrong one breaks the workflow.
- Using PNG/JPG output of a vector trace as if it were still vector. Once you export to a pixel format, the vector is lost; keep the AI/SVG source.
- Not zooming to actual output size to check edges. Vectors look fine at any zoom; bugs only show up at the actual output resolution.
- Ignoring the layer structure. A multi-color file with everything on one layer is hard to separate downstream; one layer per ink colour saves the press operator an hour.
Tanvir Chowdhury
Runs production operations at VectorWiz. Writes about file briefs, intake, and the production-side details shops learn the hard way.
Related articles
Drawn by hand. Built for production.
Instant pricing, no commitment. Production-correct vectors in your inbox in 24.