Banner vector setup: sharp at any size.
A banner file should have the logo and type built as vector at the banner's real size (or a clean 1:10 scale) so they stay crisp when enlarged, with bleed past the trim and a safe margin holding important elements clear of the hem and grommets. Photographic elements can be high-resolution raster, but the graphic identity belongs in vector — that is what lets a banner scale to feet-wide without pixelating.

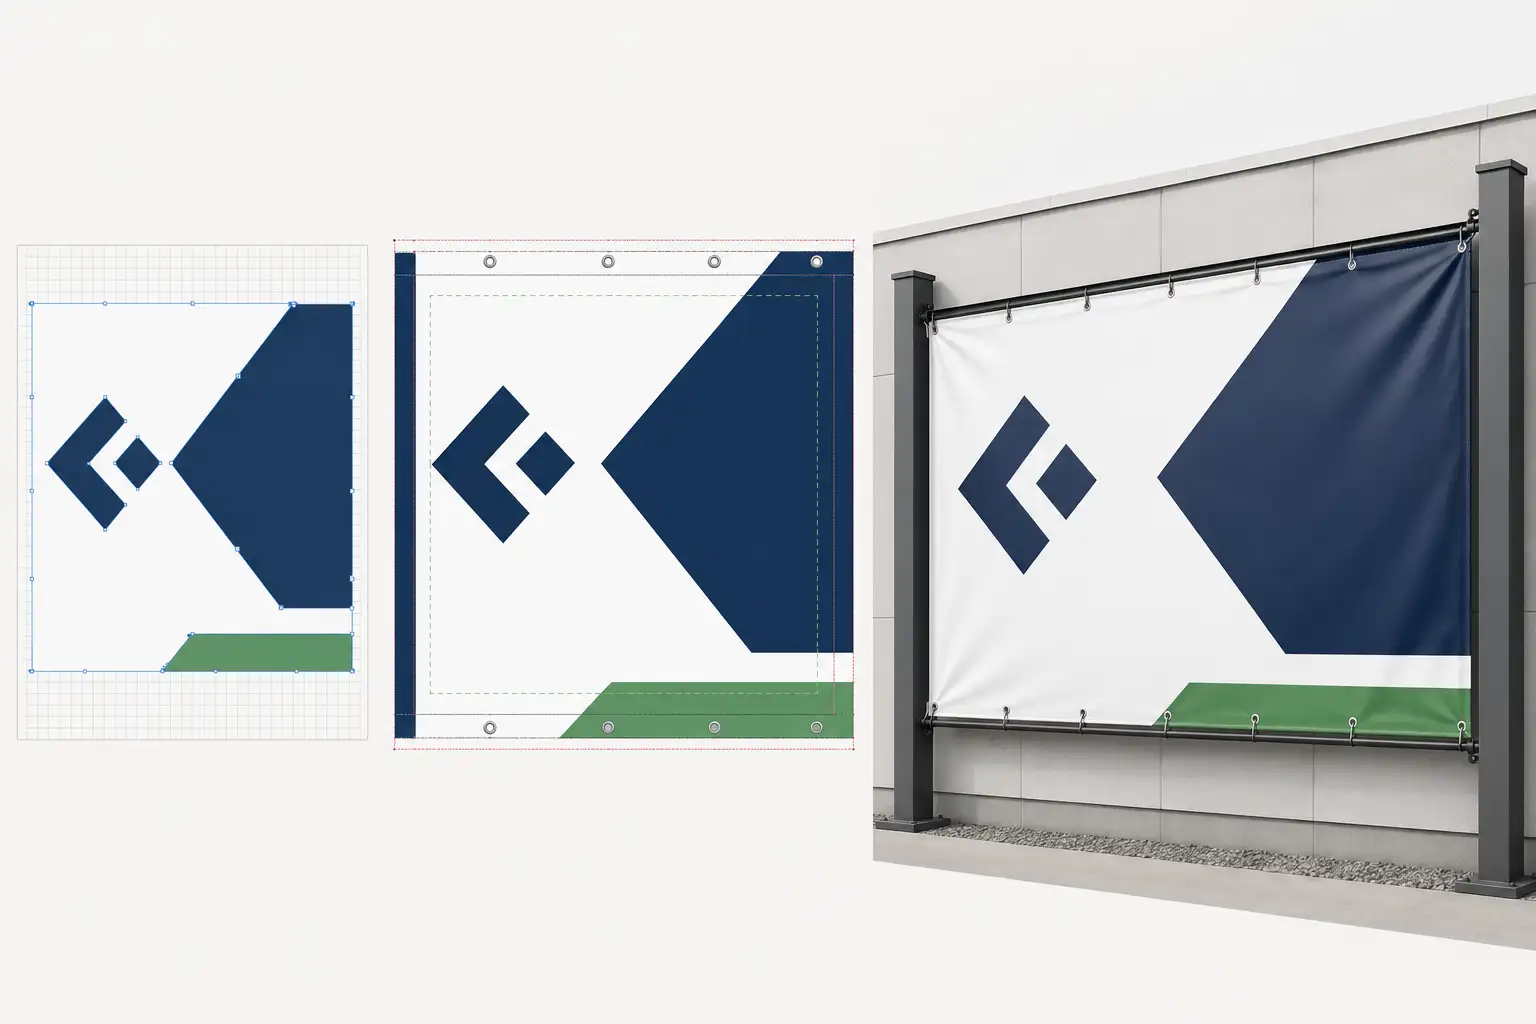
A banner is big, cheap to get wrong, and read from across a parking lot. Set the file up right — vector where it counts, bleed at the edges, the message safe from the hem — and it prints sharp and installs clean. Set it up like a small print and the logo turns to mush and the text disappears into a grommet.
Send the art. Get a banner file that's sharp edge to edge.
Vector logo and type at scale, bleed set, message safe from hems and grommets — print-ready in 24 hours.
Need something custom? Email hello@vectorwiz.com
Vector where it counts, at scale
The logo, lettering, and graphic shapes should be vector, built at the banner's real dimensions or a clean 1:10 scale, so they stay razor-sharp when enlarged to feet-wide. A raster logo pixelates the moment it is blown up. Photographs and textures can stay high-resolution raster, but the identity — the part that has to look crisp — belongs in vector.
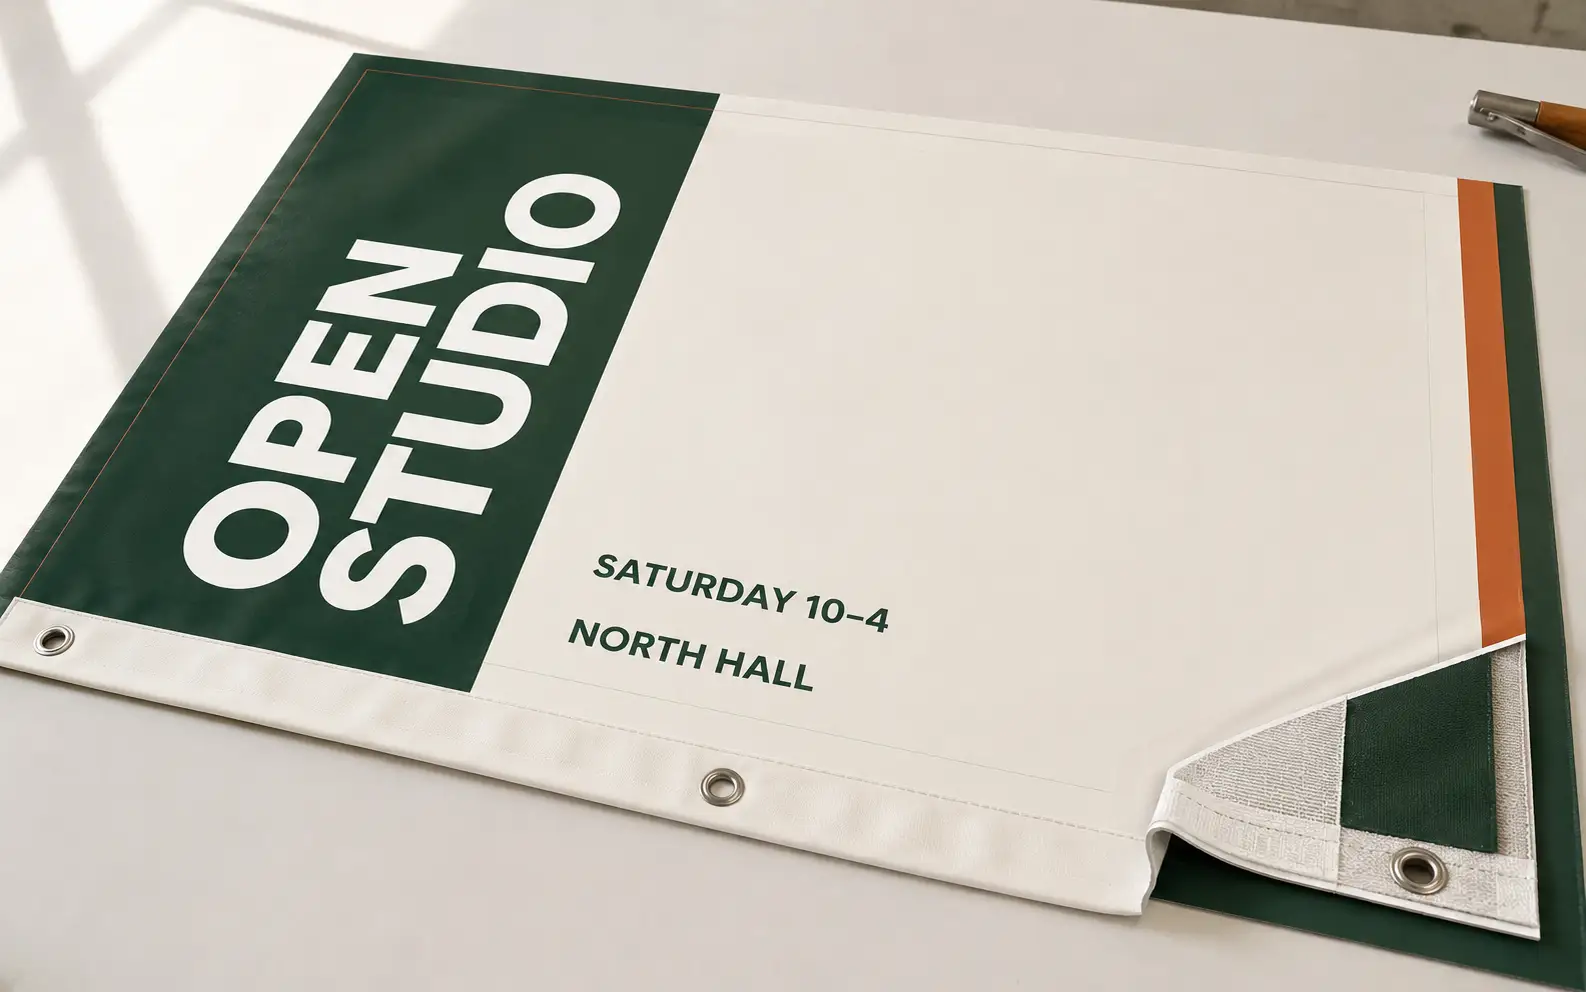
Bleed past the trim
Extend the background art past the trim line so the finished banner is printed fully to the edge with no unprinted sliver if the cut drifts. The exact bleed comes from your printer's banner template, but the principle is the same as any large-format piece: never build the art to the exact edge.
Keep the message clear of hems and grommets
The hem folds over the edge and grommets punch through it to hang the banner. Anything important placed right at the edge gets folded away or pierced. Hold the logo, headline, and phone number inside a safe margin, and let only background art run into the hem and bleed. The template marks where the hem and grommets fall.
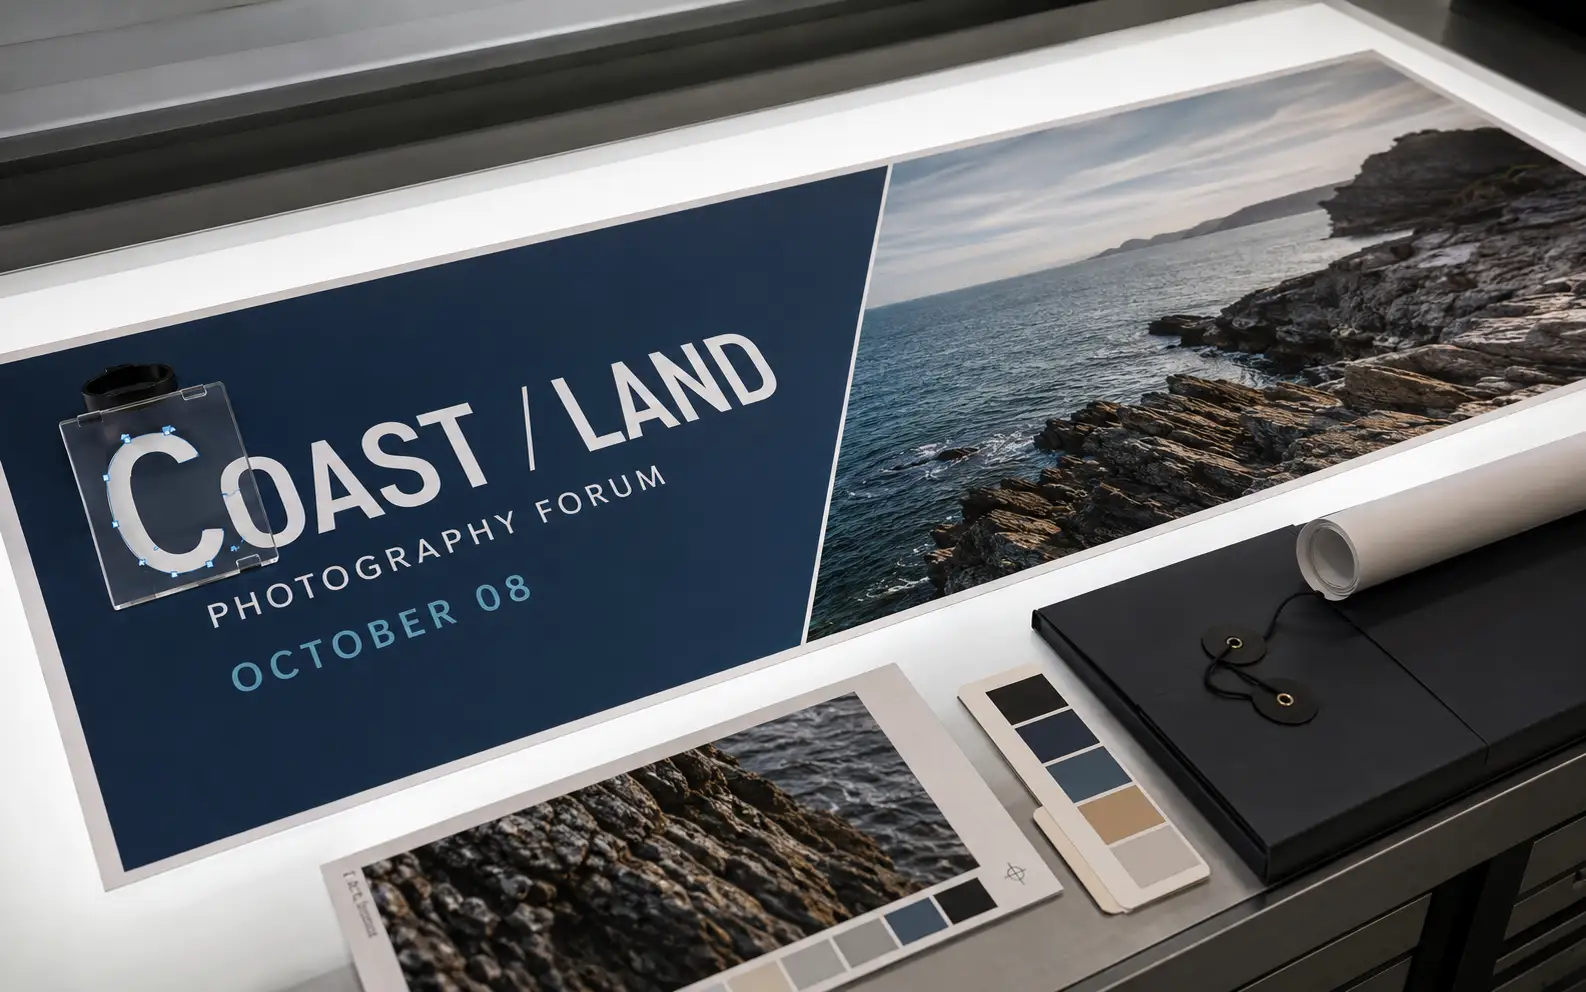
Which file to hand the printer
Most large-format banner RIPs want a vector PDF, AI, or EPS with any photos placed at high resolution and fonts outlined. Which one depends on the printer — the format guide covers the trade-offs. If all you have is a raster logo, it gets rebuilt as vector first so the banner holds at full size.
Frequently asked questions
How do I set up a vector file for a large-format banner?
Build the art as vector at the banner's real size (or a clean 1:10 scale), keep the logo and type as vector so they stay sharp at any size, add bleed past the trim, and hold important elements inside a safe margin clear of the hem and grommets. Vector is what lets a banner blow up to feet-wide without pixelating.
Does banner art have to be vector?
The logo and type should be — they must stay crisp at large scale, and a raster logo pixelates when enlarged for a banner. Photographic elements can be high-resolution raster, but the graphic identity (logo, lettering, shapes) belongs in vector so it holds at any banner size.
How much bleed and safe margin does a banner need?
Add bleed past the trim so the finished edge is fully printed, and keep text and logos inside a safe margin so nothing critical falls in the hem fold or under a grommet. The exact amounts come from your printer's banner template — confirm them before production.
Where do grommets and hems affect the art?
The hem folds over the edge and grommets punch through it, so anything important placed right at the edge gets lost or pierced. Keep the message inside the safe margin and let only background art run into the hem and bleed area.
Can VectorWiz prep large-format banner art?
Yes. We rebuild the logo and type as clean vector, set the file at banner scale with bleed and a safe margin clear of hems and grommets, and deliver it print-ready. Standard turnaround 24 hours, Rush 12; send the banner size or template.
Naimur Rahman
Leads design direction and quality at VectorWiz. Reviews and redraws production artwork by hand across sign, wrap, screen-print, and CNC work.
Related articles
Drawn by hand. Built for production.
Instant pricing, no commitment. Production-correct vectors in your inbox in 24.